A Closer Look
WRIGHT BROTHERS
Aeroplane Company
A Closer Look
![]()
![]()
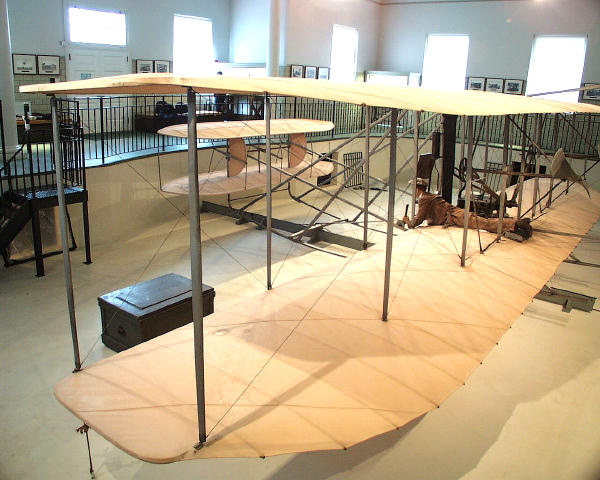
It was an opportunity to get nose to nose with the craftsmanship of the Wright brothers, marvel at their attention to detail, and explore their innovative, no-nonsense approach to engineering. We thought you might like to the share this adventure, so here, with many thanks to Carillon Park, are some of the photos that we took of the 1905 Wright Flyer 3.
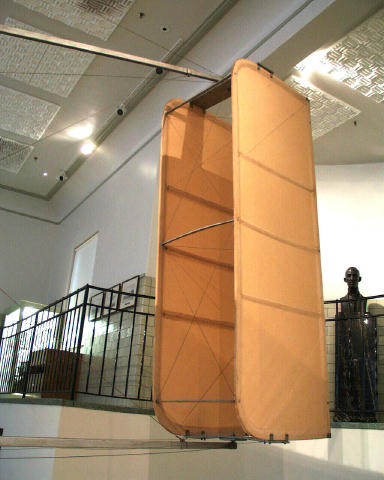
 Let's begin with a walk around the plane. This is what greets you when you enter Wright Hall. |
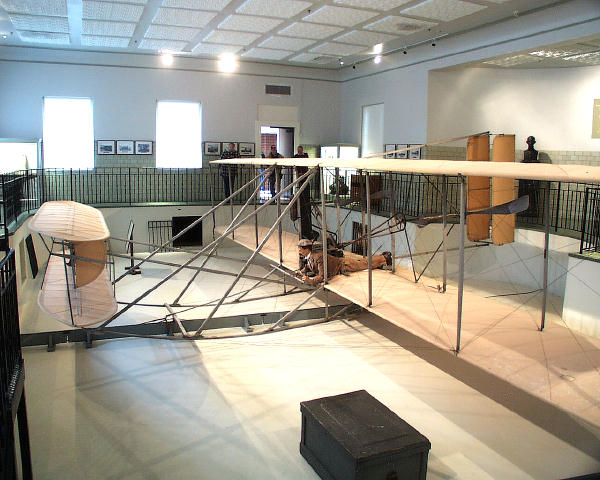 Move to your right and begin to walk around the pit. The wooden box is the Wright's Huffman Prairie tool chest. |
 If you could descend the stairs into the pit, here's how the Flyer looks at eye level. |
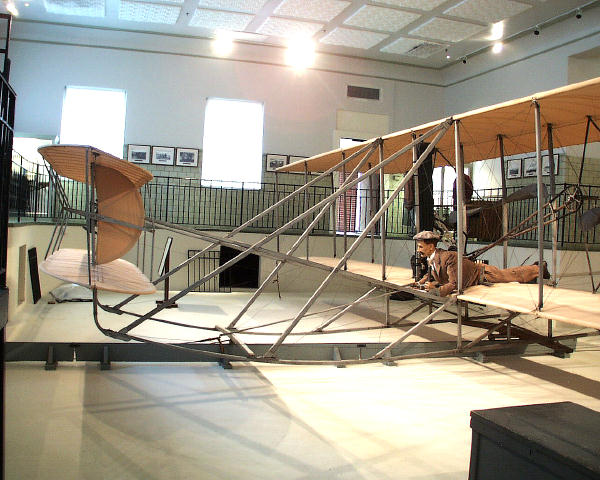
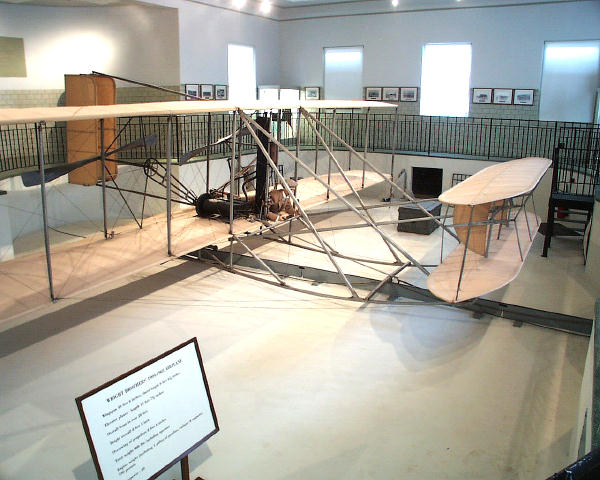
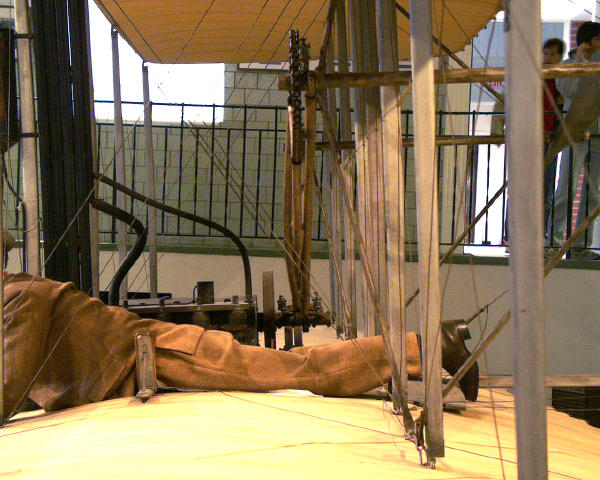
 Looking at the aircraft from the side -- this is what Will and Orv saw when they ran beside it on take-off. |
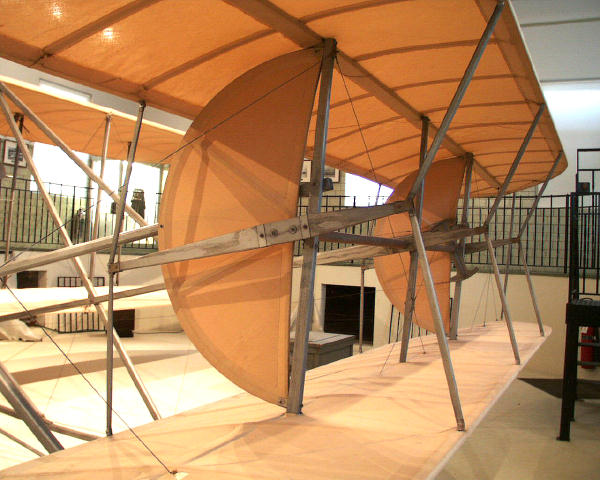
 Continuing around, here's a diagonal view from the rear. |
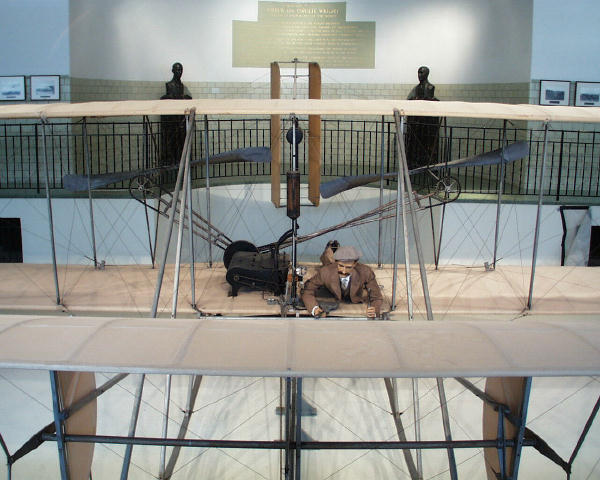
 Further along, you get a good overview of the cockpit. |
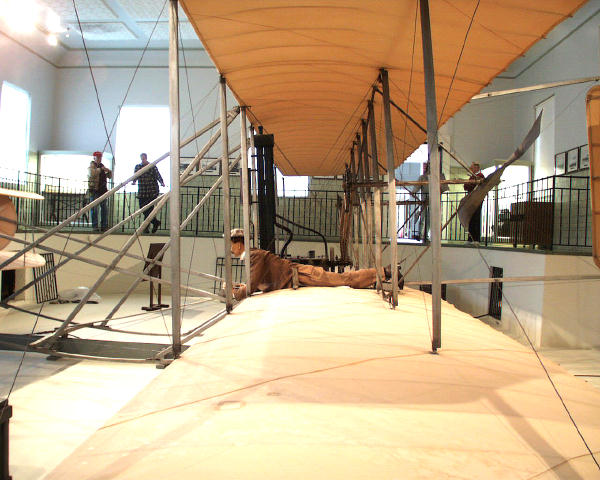
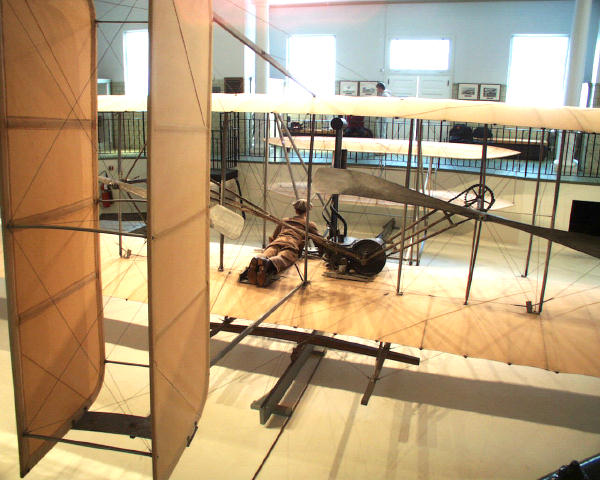 Here's the Flyer from the rear, looking forward. |
 Another diagonal view. We're almost back to where we started. |
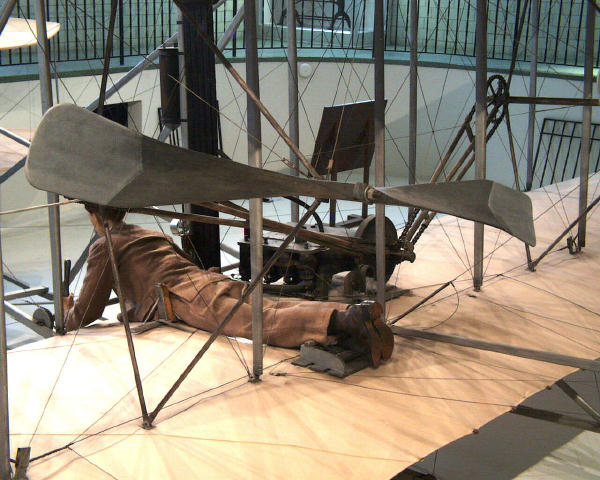
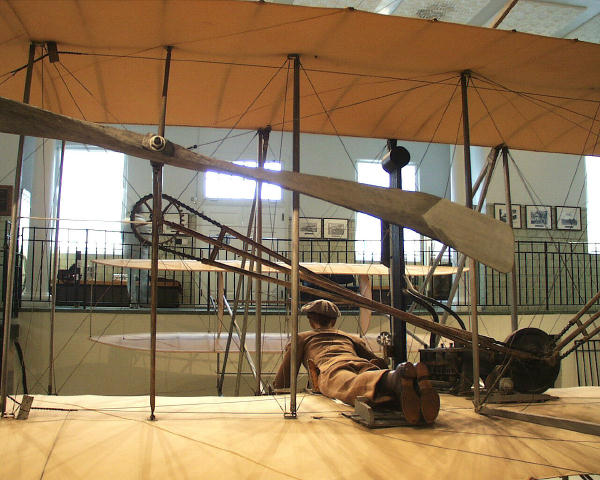
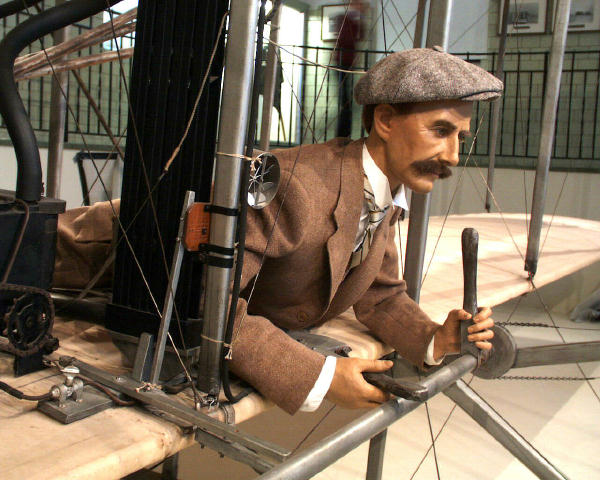 Down in the pit, here's what the cockpit looks like up close. |
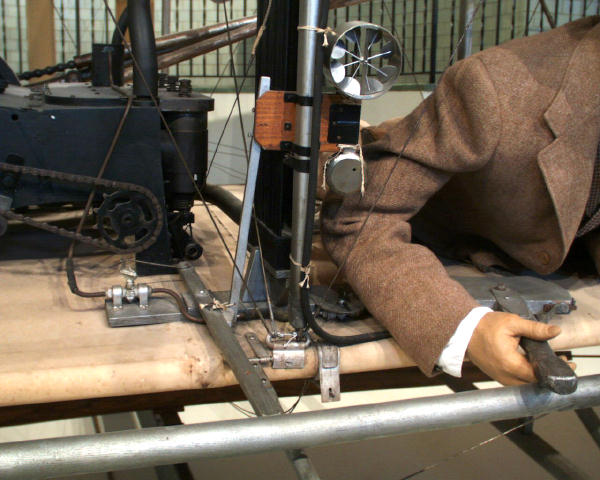 All the flight instruments are at Orville's right elbow -- anemometer, stopwatch, fuel shut-off. |
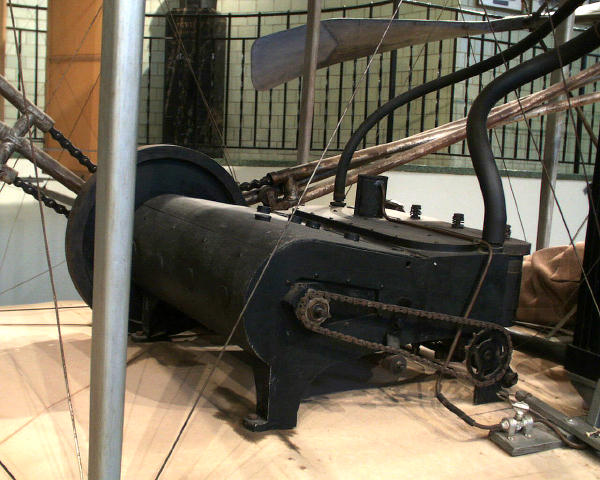 A view of the engine from the front. There is no muffler. |
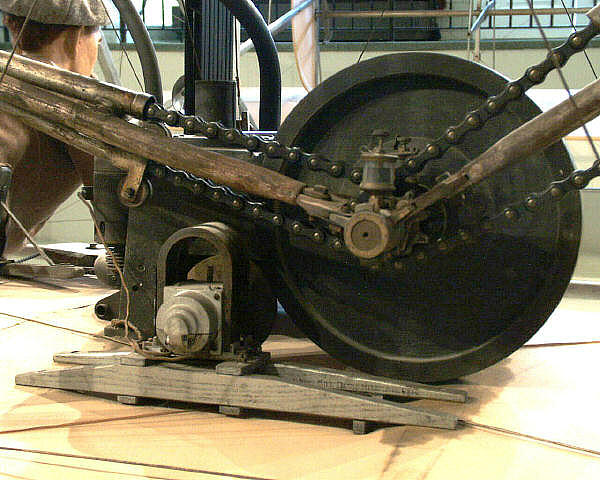 At the rear of the engine is a flywheel and the drive sprockets. |
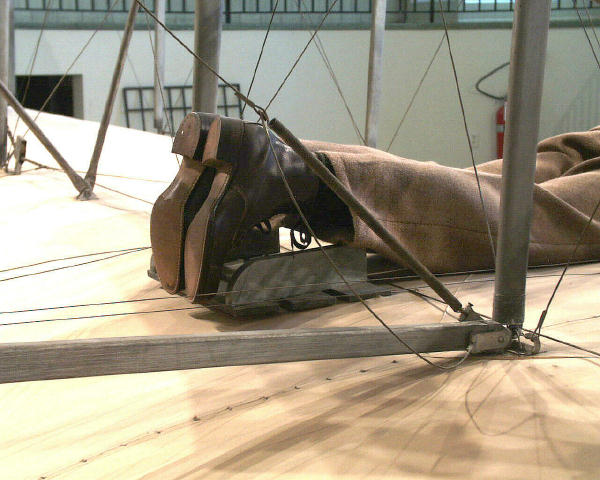 The pilot hooks his toes over this foot rest. There is no safety belt. |
 A chain runs from the engine to each propeller. |
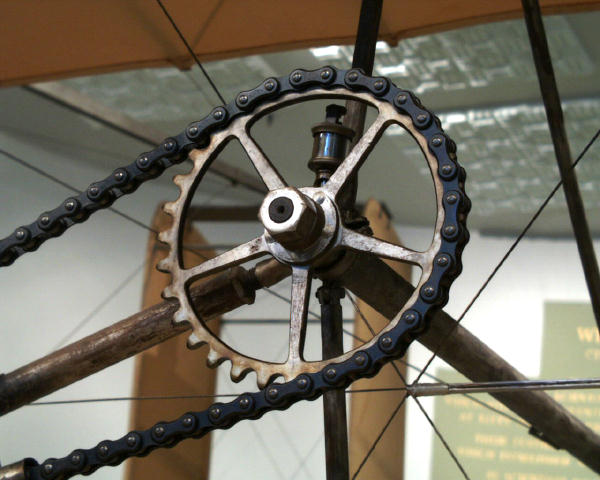 The chain runs over a large sprocket on the propeller shaft. |
 The propeller is bolted to the shaft. It's also screwed from the back. |
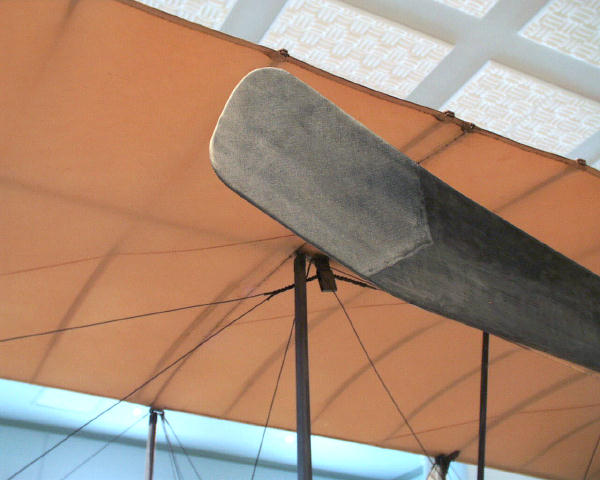 To keep the props from splintering, the ends are covered with canvas. |
 Note that the chain guide tubes are bent where the chain crosses over itself. |
 The Wrights added "blinkers" to the canard to keep the aircraft's nose up in a turn. |
 The elevator control varies the camber of the canard as you move it. |
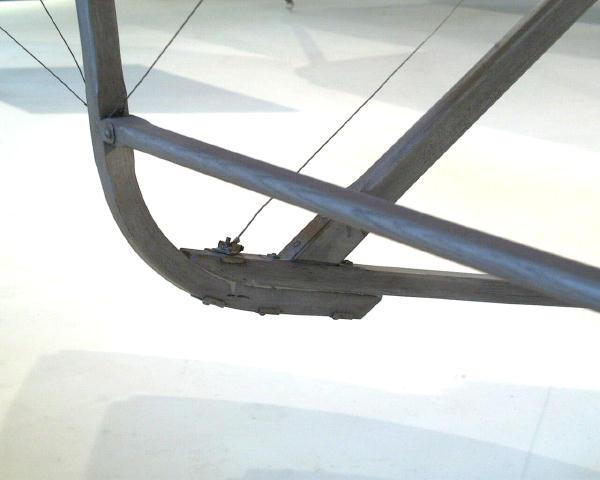 The elevator frame is bolted to the front skid to make the aircraft easy to disassemble. |
 The strut fittings are actually hinges that allow the wings to warp. |
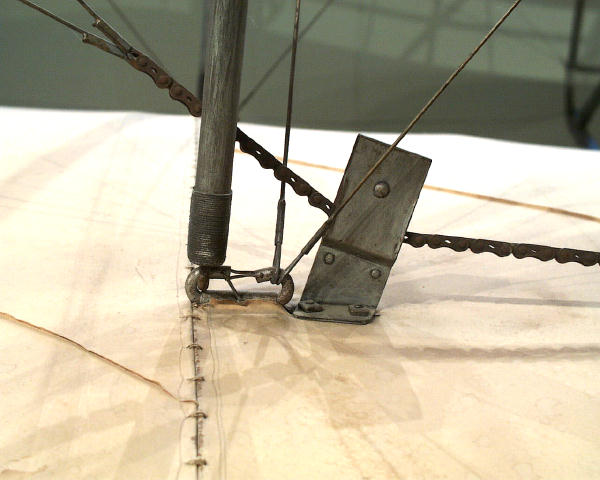 When the control cables pass through pulleys, the Wrights inserted a bit of chain. |
 The rudder is attached to the flyer with just two long beams and bracing wires. |